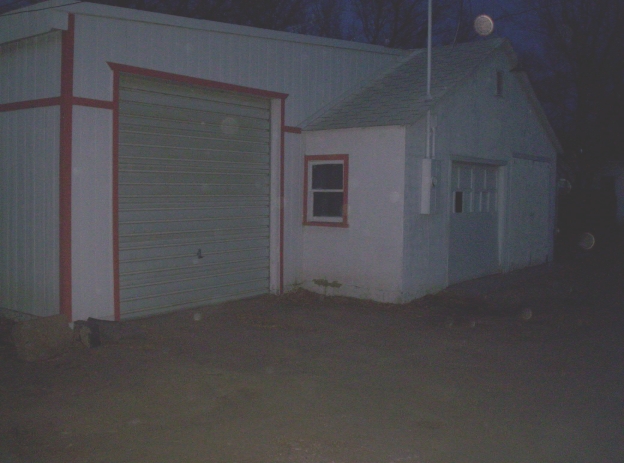
 - 2008 -
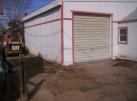
Garage as I bougt it, 24 x 24 2 car garage with a
40' x 15' 12' high garage built on left side, no
concrete inside
|
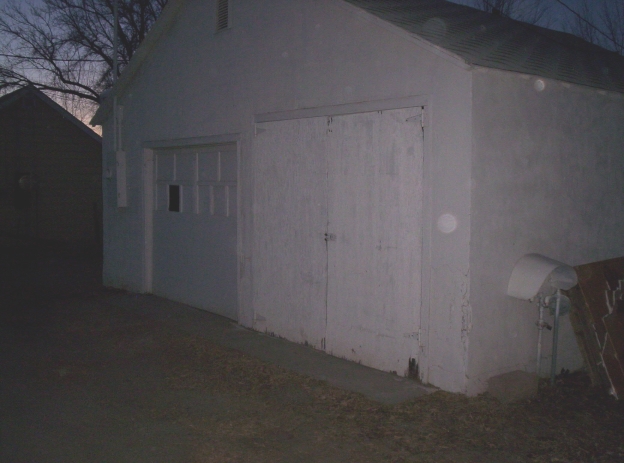
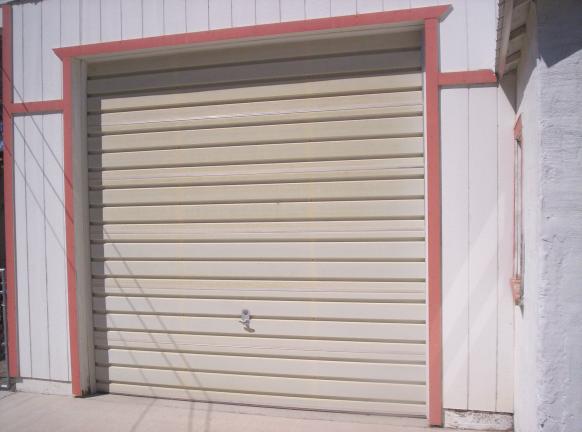
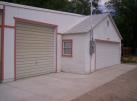
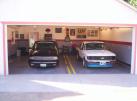
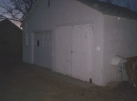 - 2008 - 2
car garage had 1 solid 7'flip up door and 1 8'
barn style door, getting in and out was really
fun, notice the HUGE slab in front of the doors
|
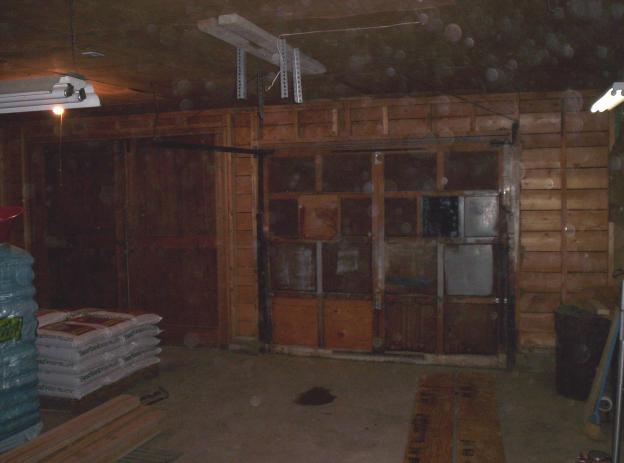
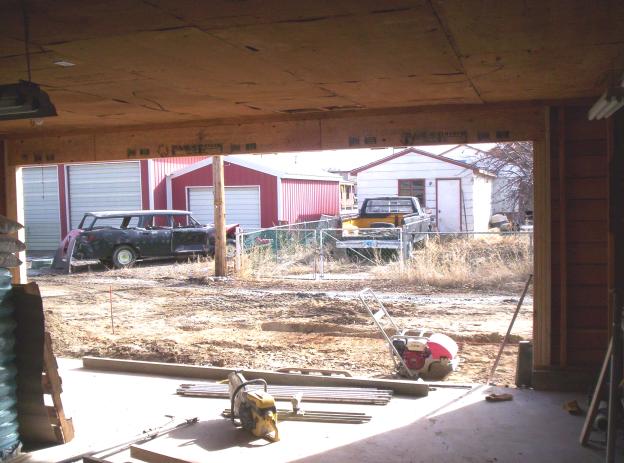
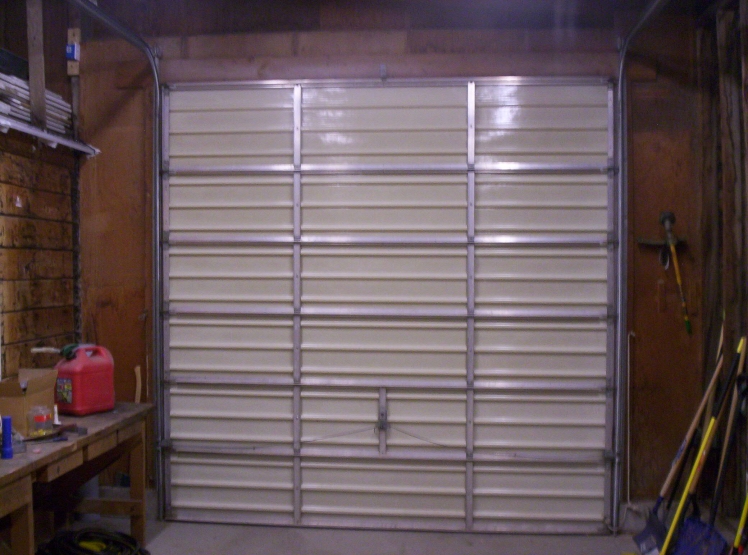
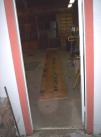
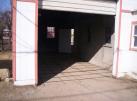
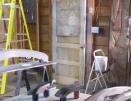
- 2008 -Inside
shotof old doors
|
 - 2009 - 2
21' LVL headers for new 18' garage door
|
 - 2009 - Old
doors removed and header framed in for new door,
notice the 1/4 plywood ceiling
|
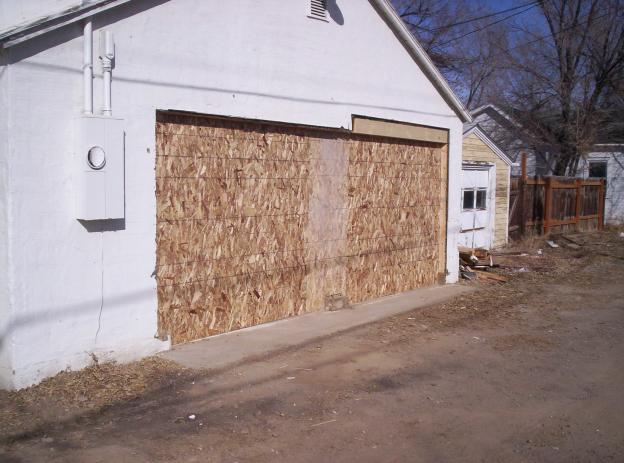
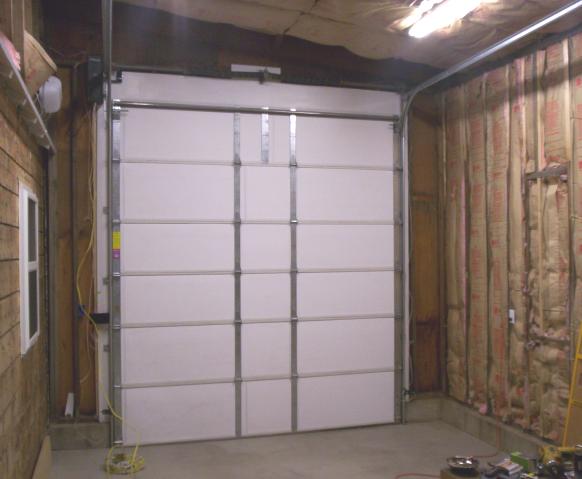
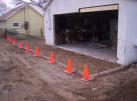
 - 2009 -
Boarded up, waiting for the garage door to arrive
|
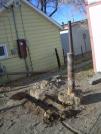
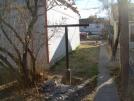 - 2009 - Old
chlothsline that needs to go away
|
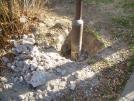 - 2009 -
Jack hammered out 2 feet of cement, wont come out
because...
|
 - 2009 -
There is ANOTHER 2 feet of concrete below the 2 I
broke out, that is a lot of concrete for a
clothsline
|
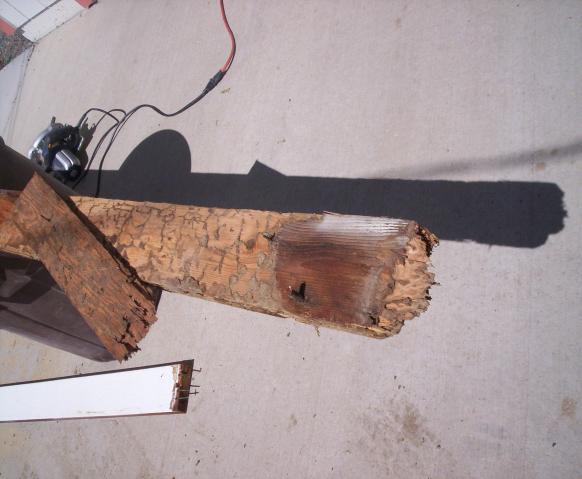
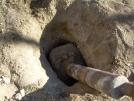
 - 2009 - I
finally got the back one out with my suburban,
that pole is 6 feet tall AFTER I broke off the
top 3 feet
|
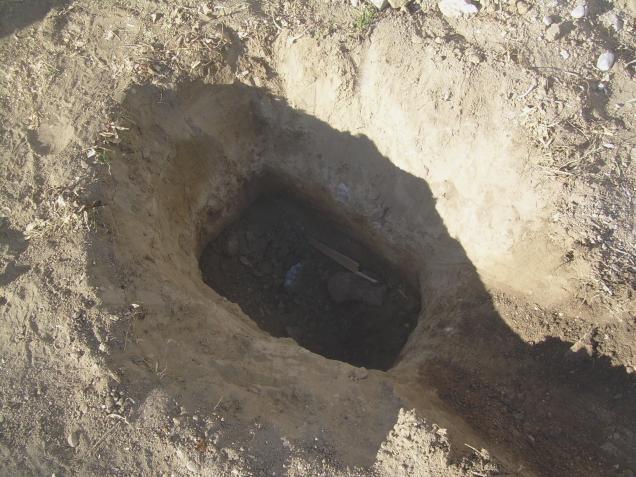
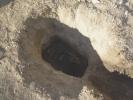 - 2009 - 5
foot deep hole after I got the pole out, was this
really necassary??
|
 - 2009 - Had
to have the concrete guys use thier skid-steer to
get the other pole out and it took them about 20
minutes and I had it already dug out.
|
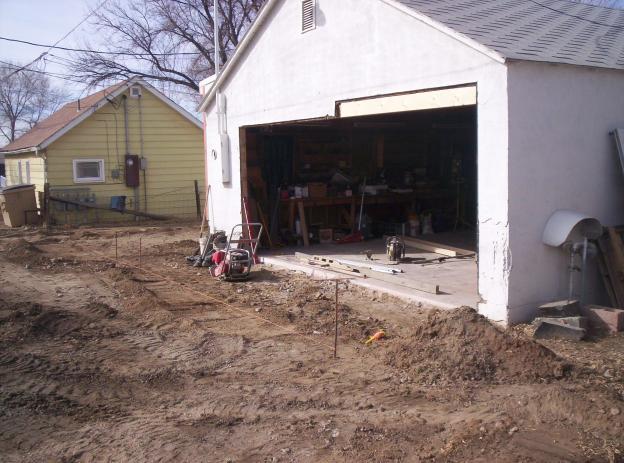
 - 2009 -
Rebar laid out for concrete, notice no concrete
in front of garage either.
|
 - 2009 -
Rebar from inside of garage
|
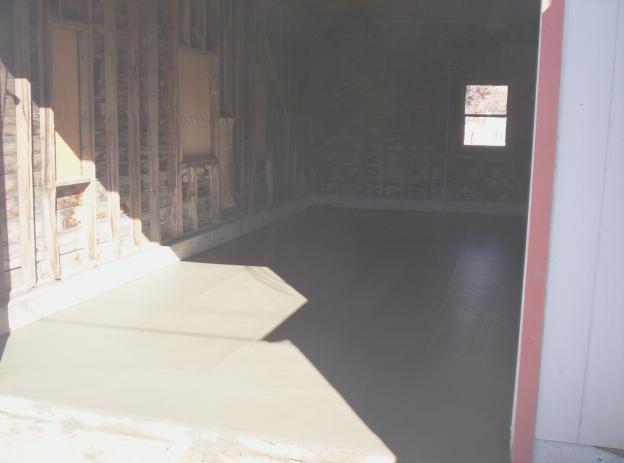
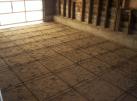
 - 2009 - 15'
x 40' concrete slab poured, would have been nice
if the person who built the garage would have put
the slab down
|
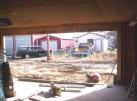
- 2009 -
Excavating for the new outside slab
|
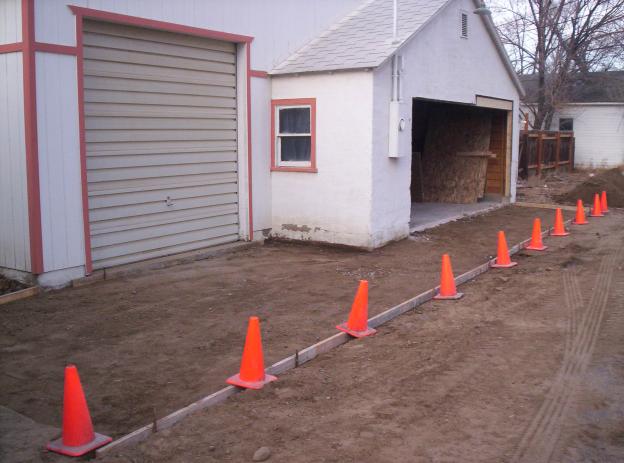
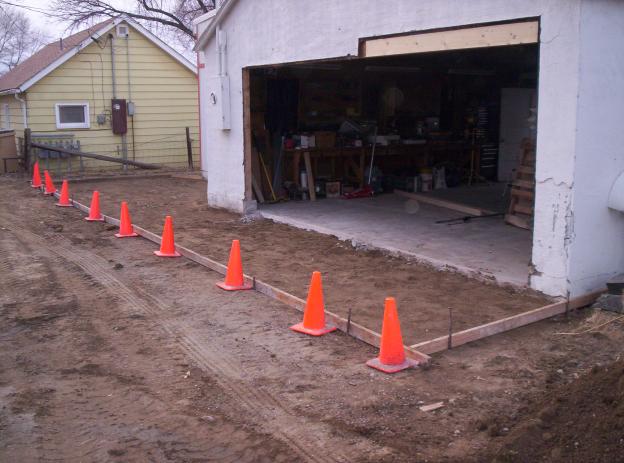
 - 2009 -
Leveled out and waiting for the cement truck
|
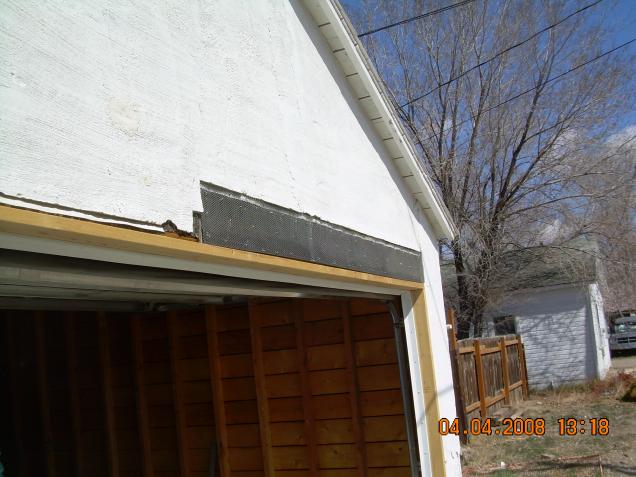
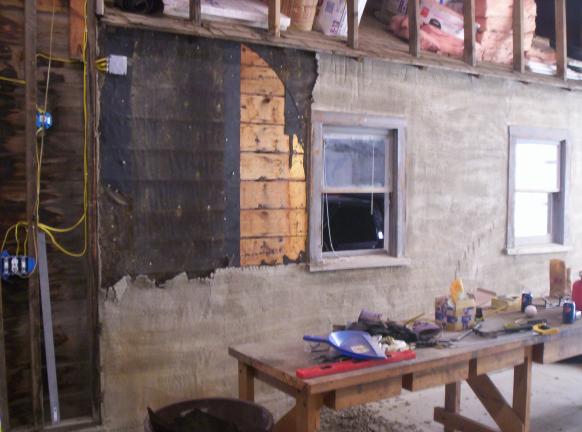
 - 2009 The -
barn doors were 8' tall so I have to patch the
gap when the new door goes in
|
 - 2009 -
House wrap and chicken wire installed
|
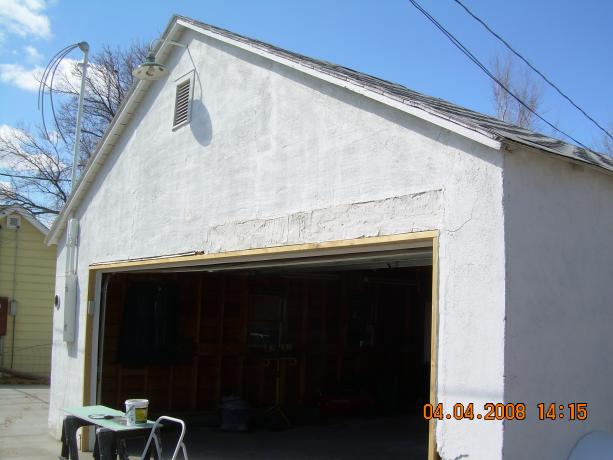
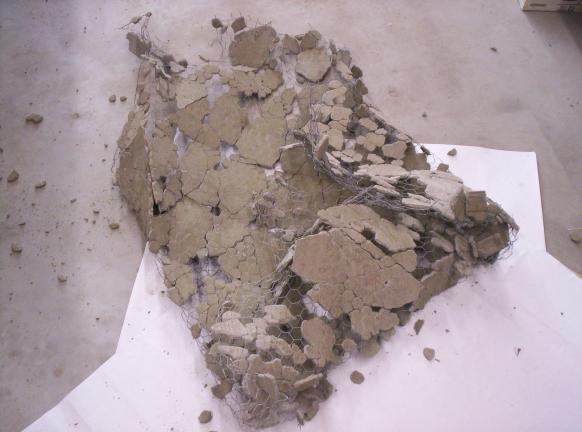
 - 2009 -
First coat of stucco patch
|
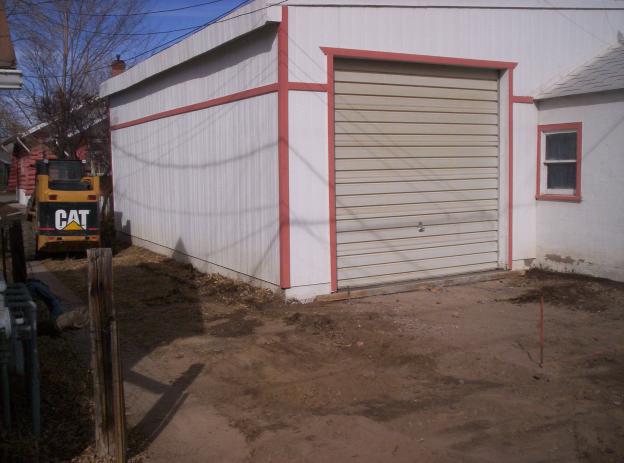
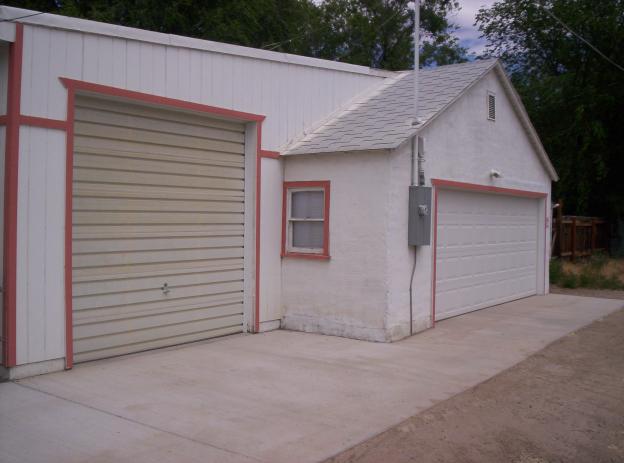
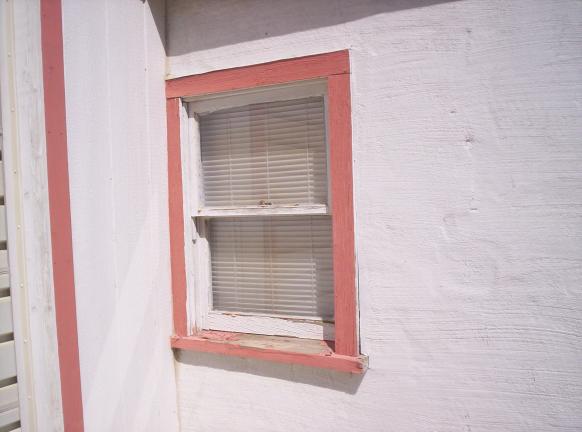
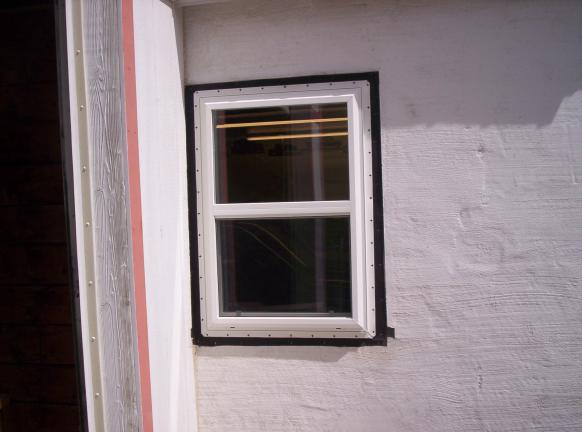
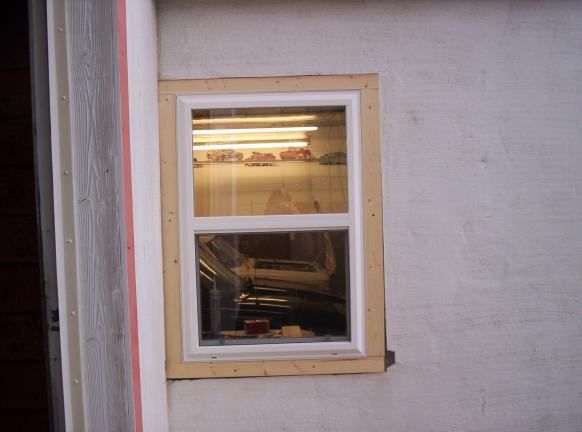
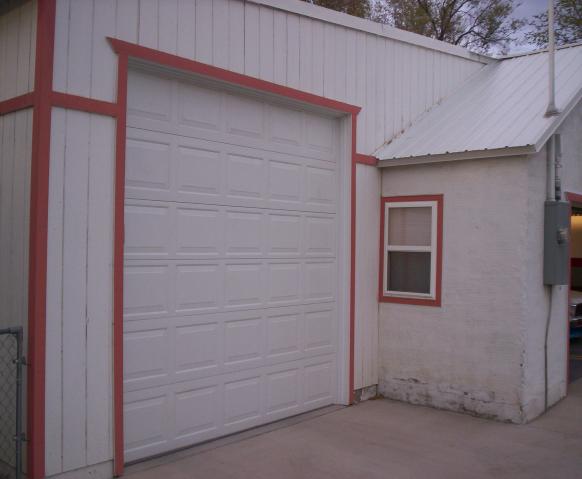
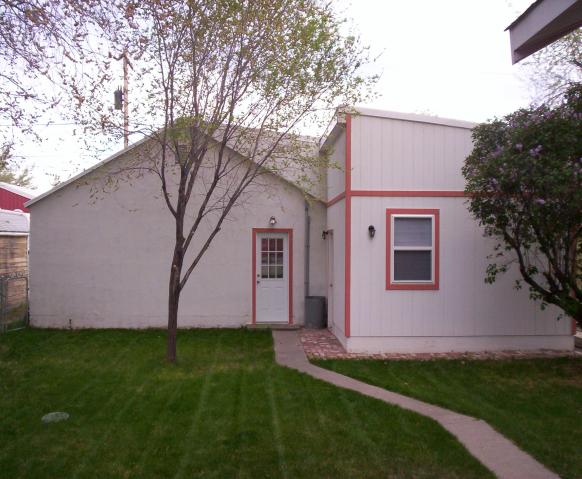
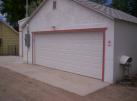 - 2009 - New
concrete, 18' garage door, electrical service (200
amp), door trim and patched stucco, had to patch
lower left side also
|
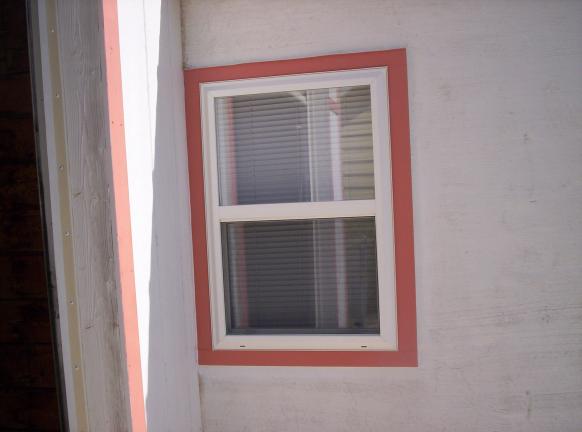
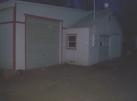
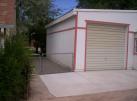
 - 2009 -
Right side finished outside shot
|
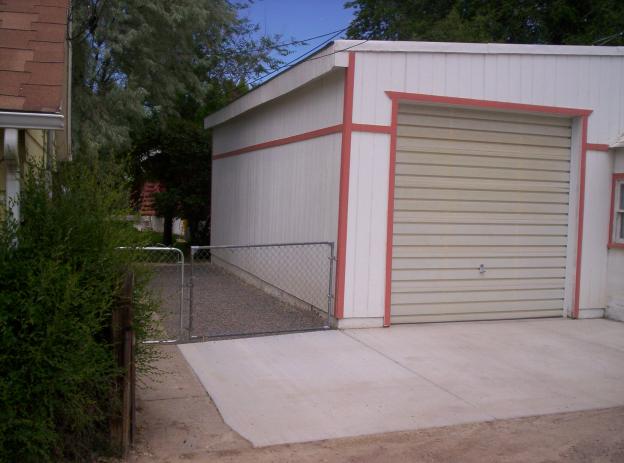
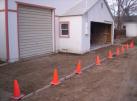
 - 2009 - New
slab, gate to keep the brats out and gravel
between garage and sidewalk
|
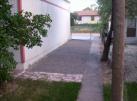 - 2009 -
Much better looking without clothsline poles, new
brick walkway and gravel.
|
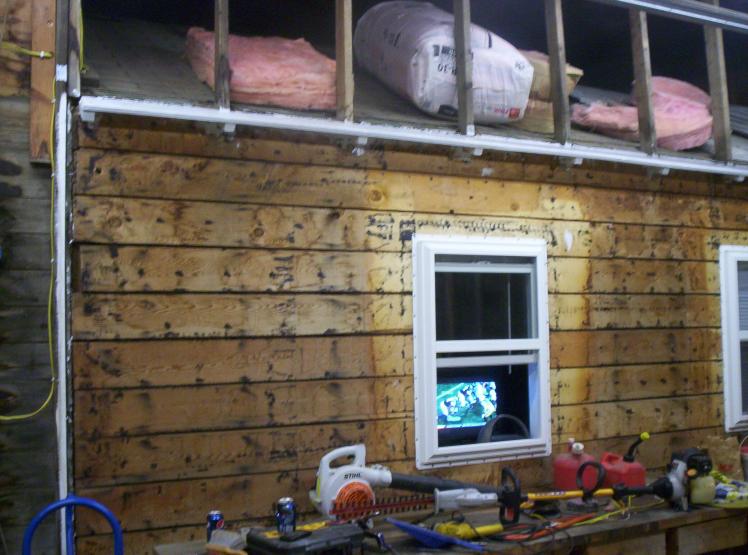
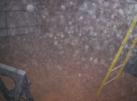 - 2009 -
Hard to tell in this pic but there is about a
foot deep of sawdust that was used for ceiling
insulation
|
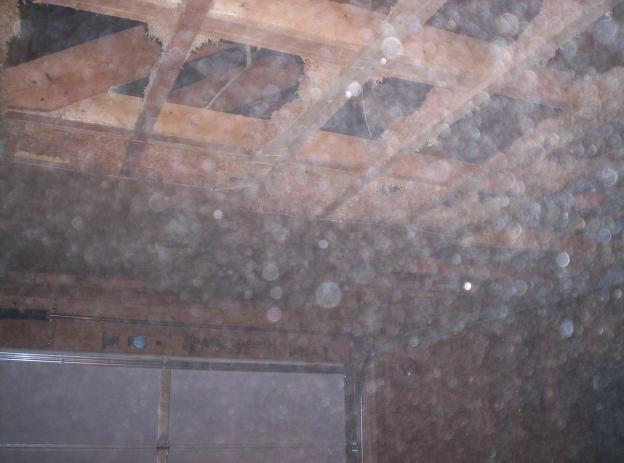
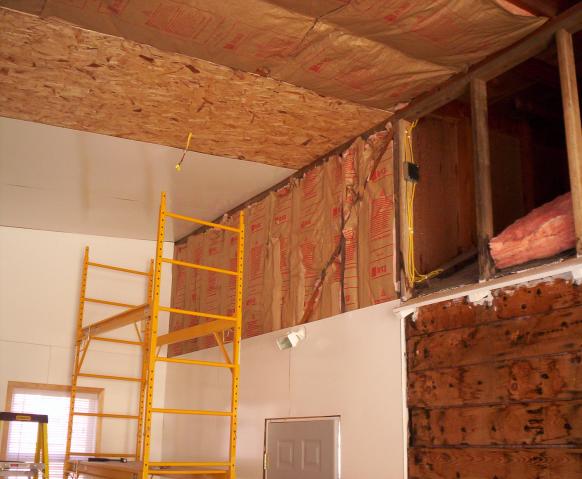
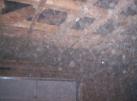 - 2009 -
Plywood removed from ceiling and sawdust
insulation sitting on rafters, hauled off 44 13
gallon trash bags of sawdust
|
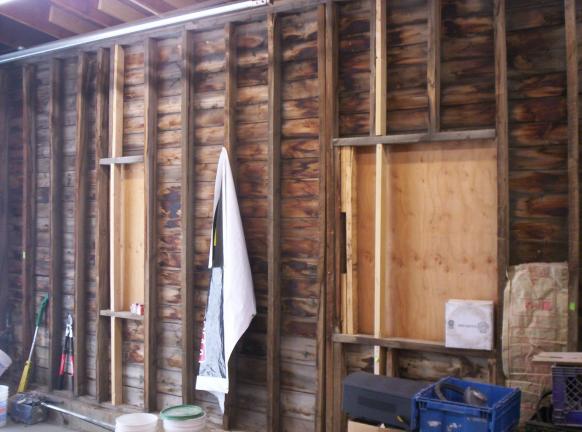
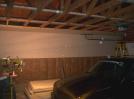
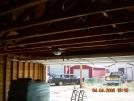 - 2009 -
Ceiling and walls stripped of old covering, walls
had cardboard stapled to studs, gotta love my
redneck neighbours across the alley
|
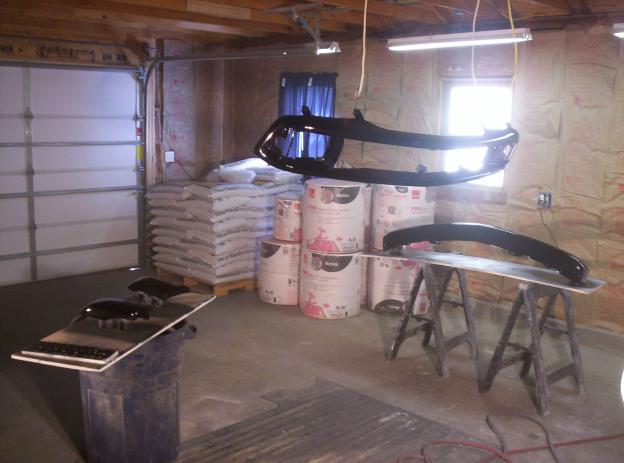
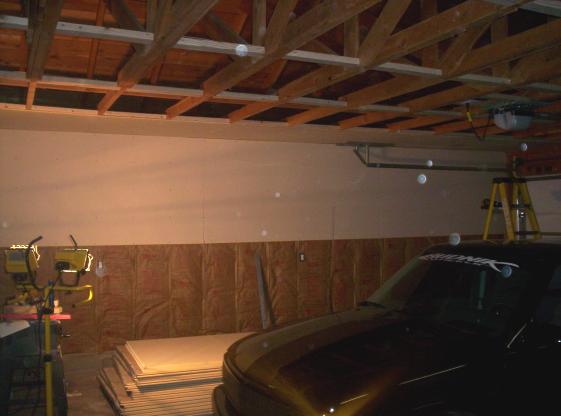
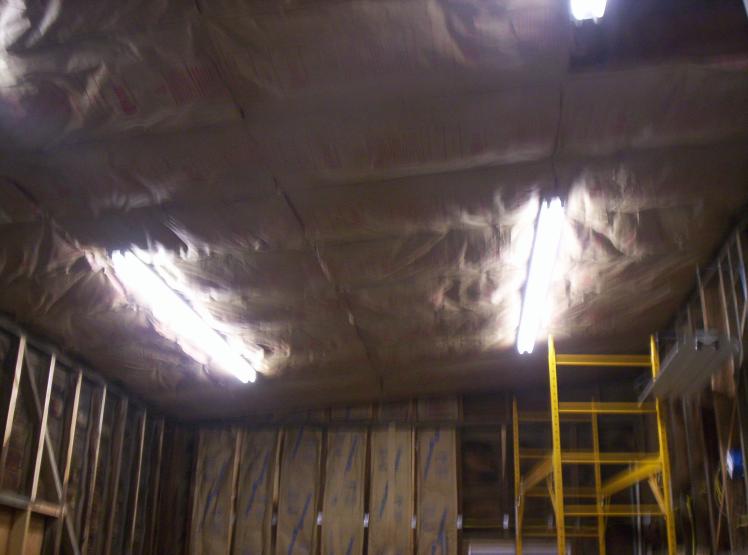
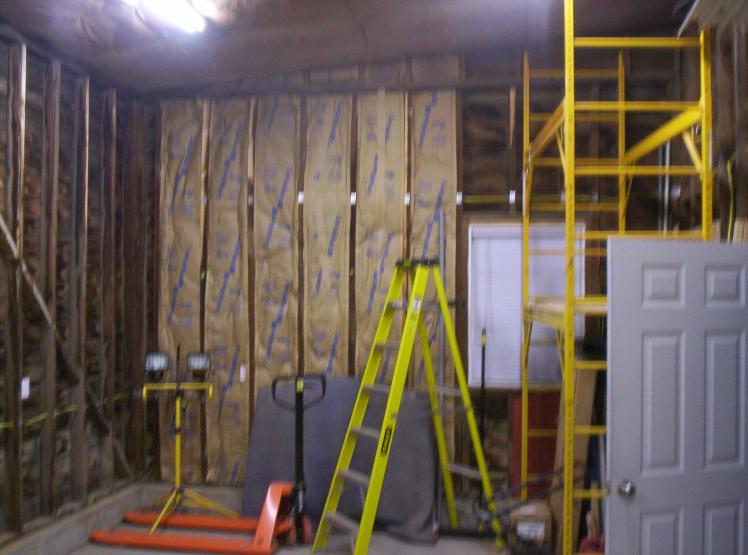
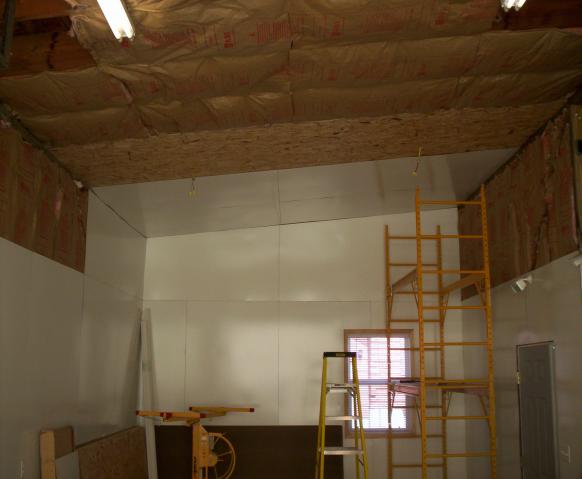
 - 2009 - R13
insulation put on walls, and rolls or R30 for the
ceiling only pics I have of it are from painting
my S10 parts.
|
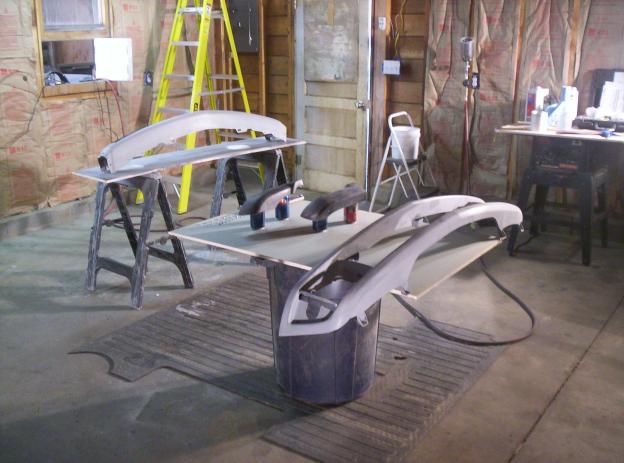
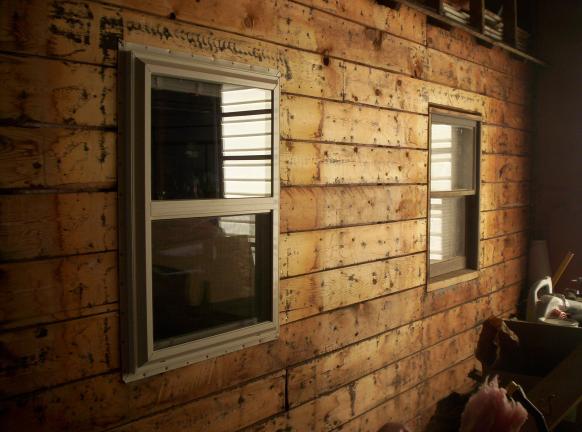
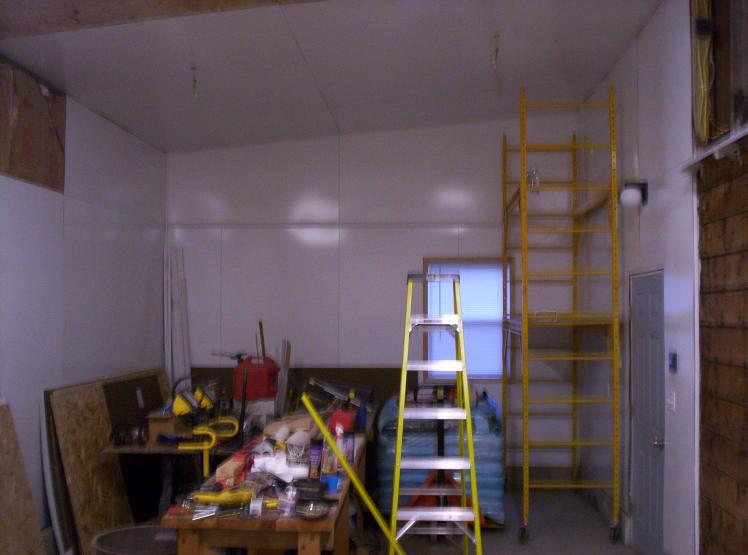
 - 2009 -
Another shot of insulation, noticed the new
breaker box in the corner and nice entry door.
|
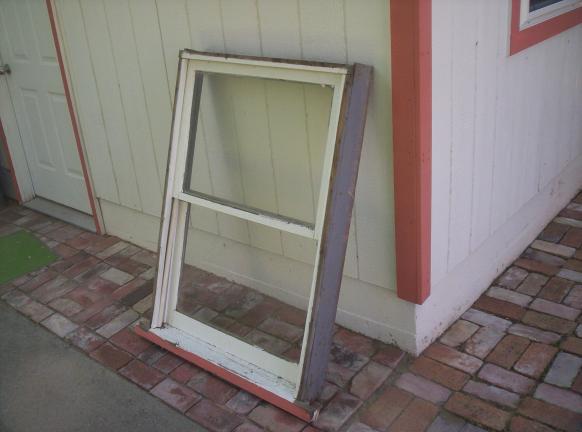
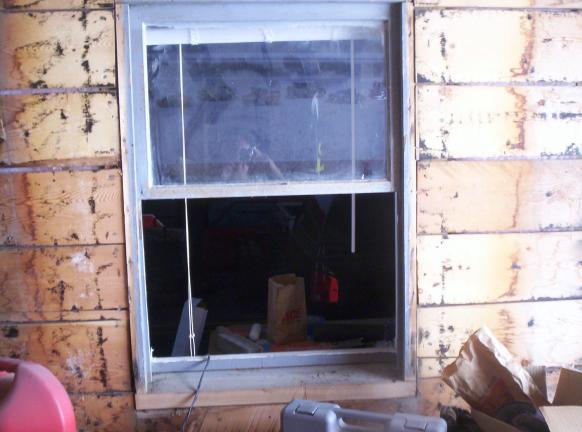
 - 2009 - Old
very leaky entry door (Glass was replaced with
plywood)
|
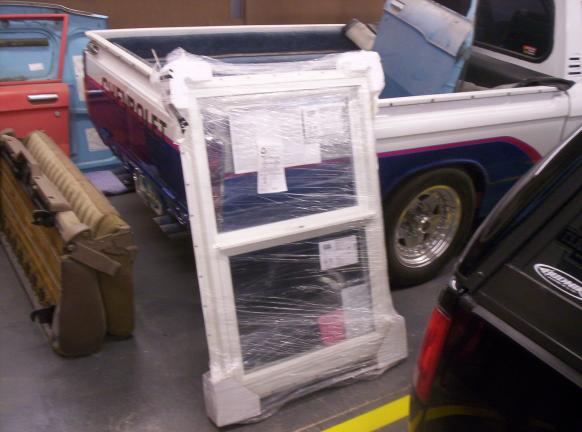
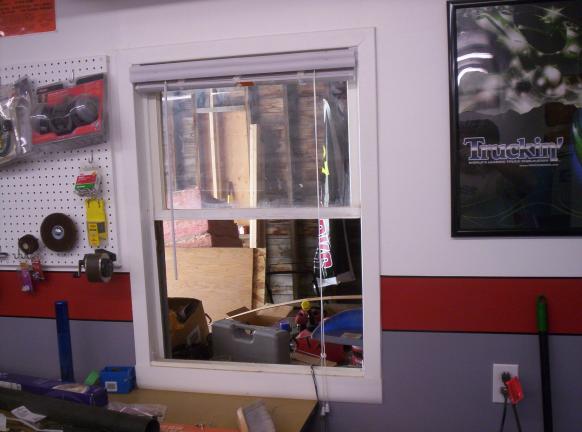
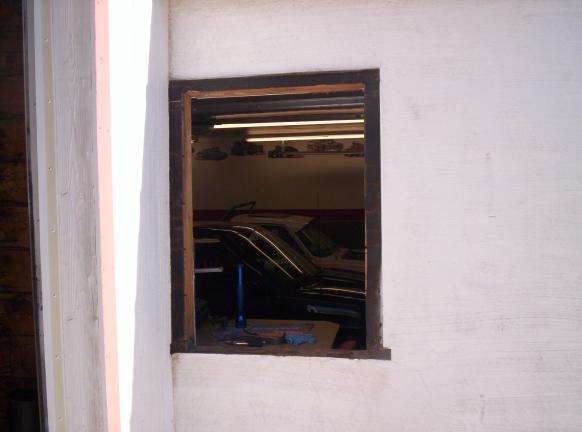
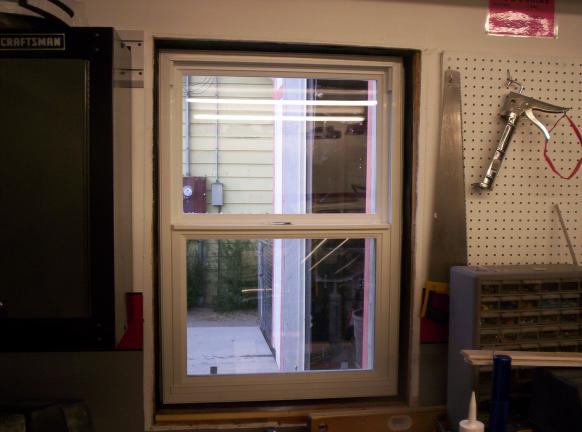
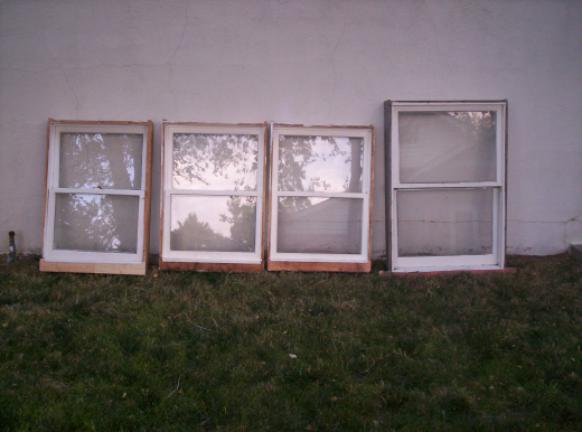
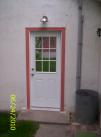 - 2009 - New
entry door with window
|
 - 2009 -
Starting to hang first rows of drywall
|
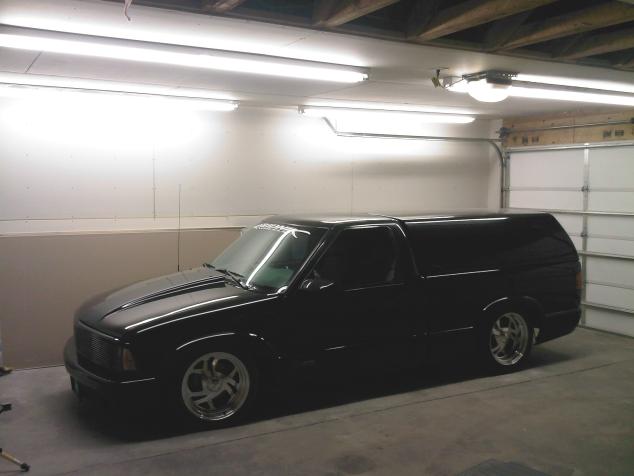
 - 2009 - New
T-8 light fixtures (installed a total of 6) very
bright and start in cold weather
|
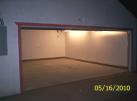 - 2010 -
Drywall installed, taped, mudded, sanded and
primed
|
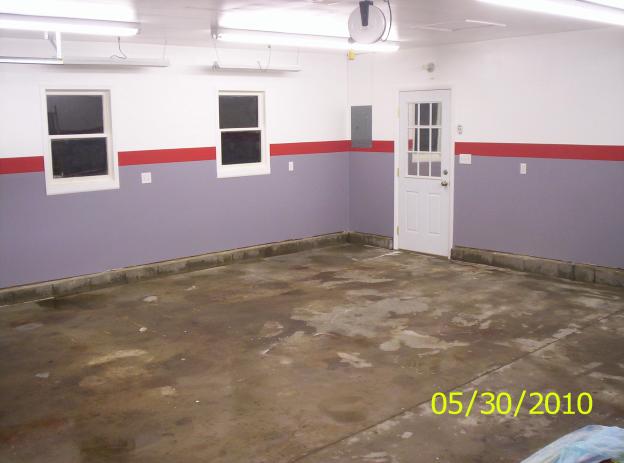
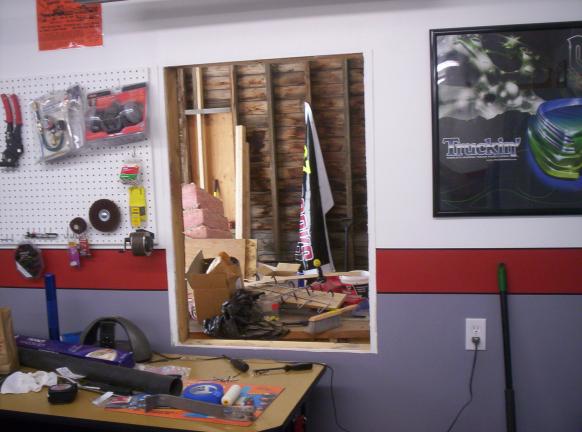
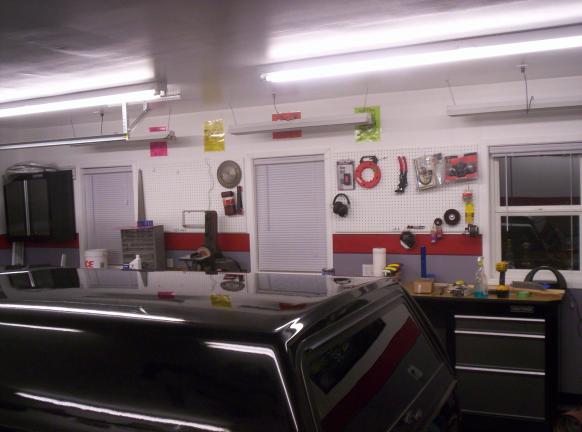
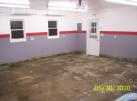 - 2010 -
Walls painted white and grey with a red stripe,
now the floor needs attention
|
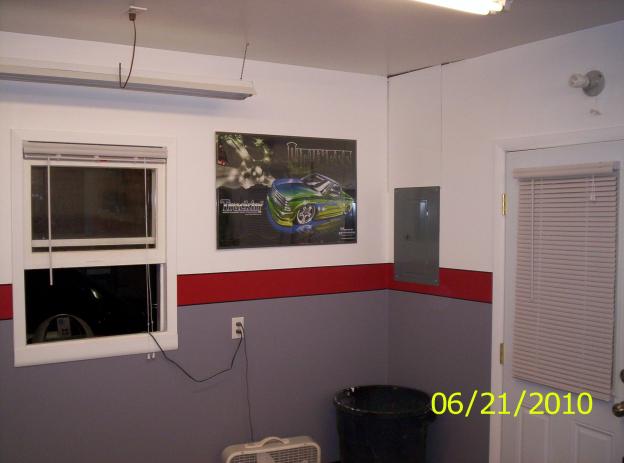
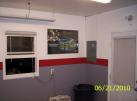 - 2010 -
Added a black pinstripe to helpset off the red
stripe (and an S10 poster). Didnt finish the
drywall above breaker box so I can run electrical
to other garage
|
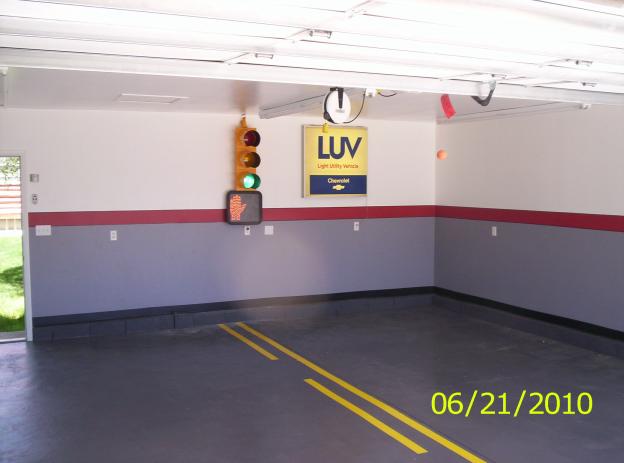
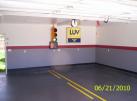
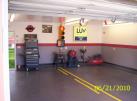
 - 2010 -
Painted the floor dark grey and added a highway
stripe, also finally got to hang my LUV sign I
got over a year ago
|
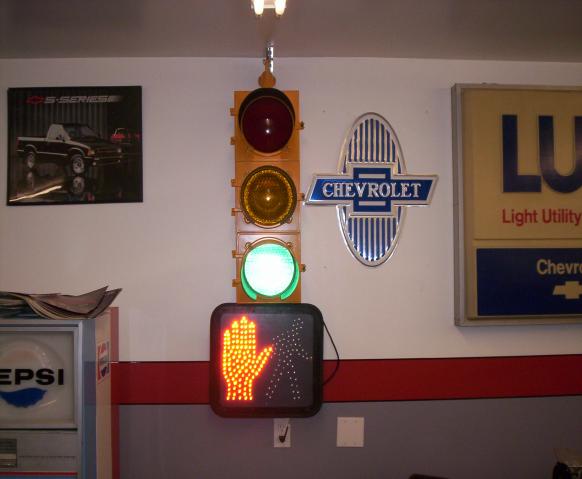
 - 2010 -
Hanging my working traffic light I got off ebay
that I refurbished and installed a sequencer and
crosswalk light.
|
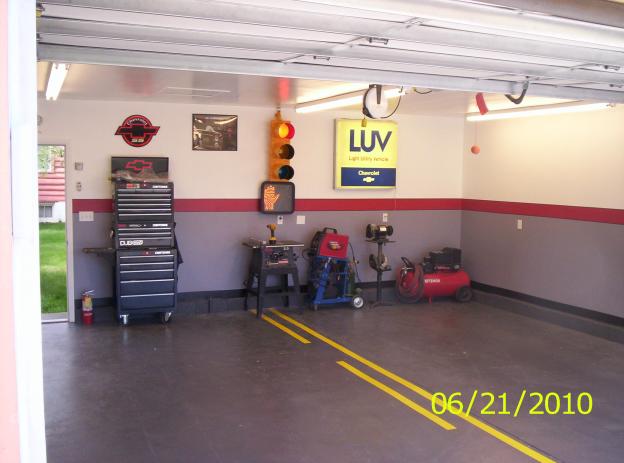
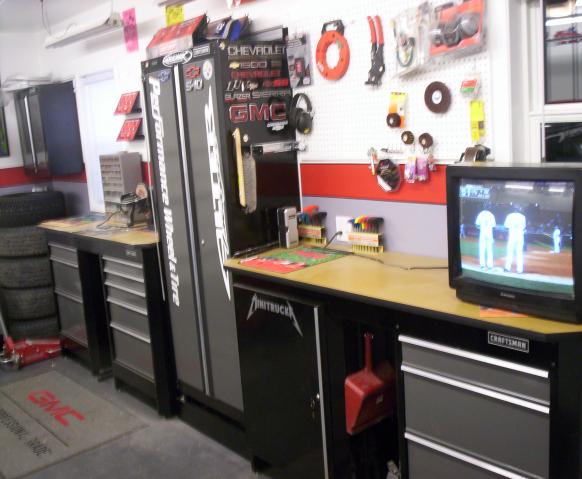
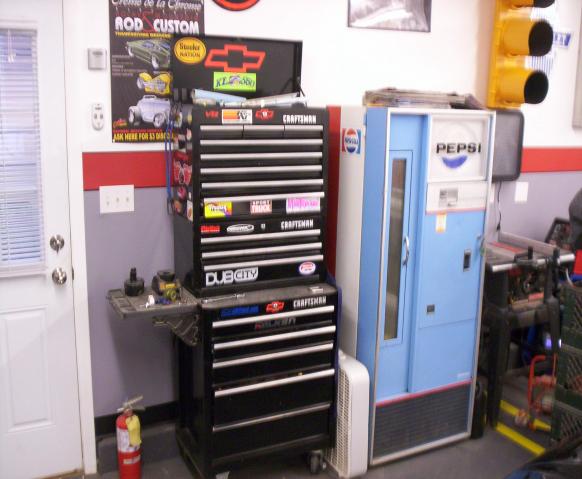
 - 2010 -
Moved back in some of my tools
|
 - 2010 - 12
Tin Muscle Machine signs on right side wall
|
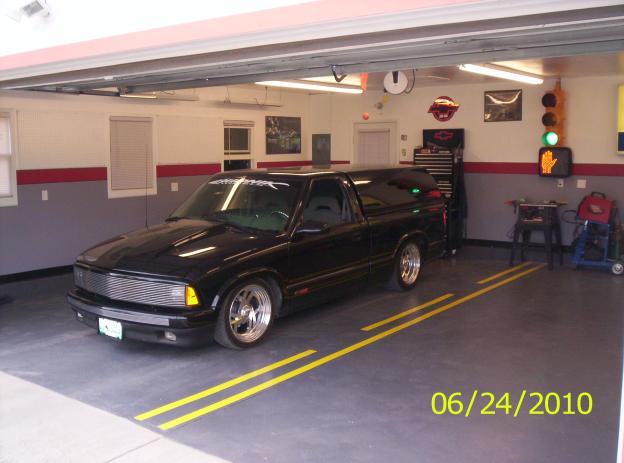
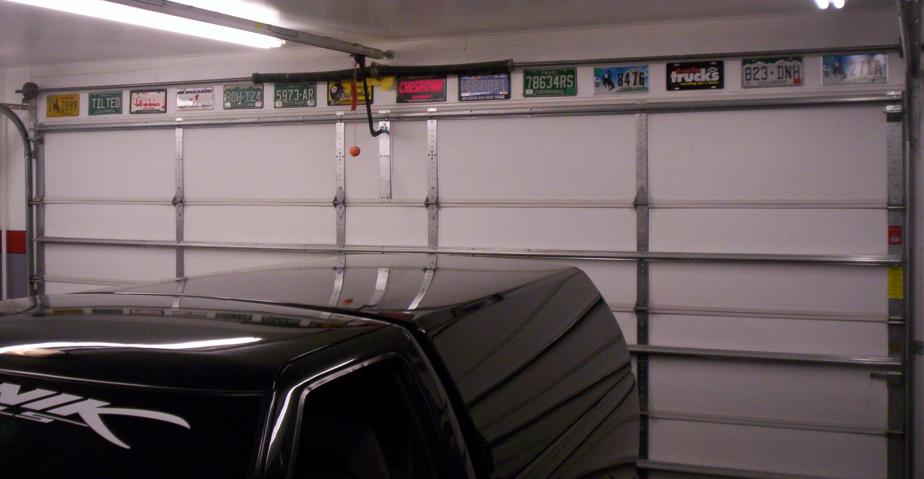
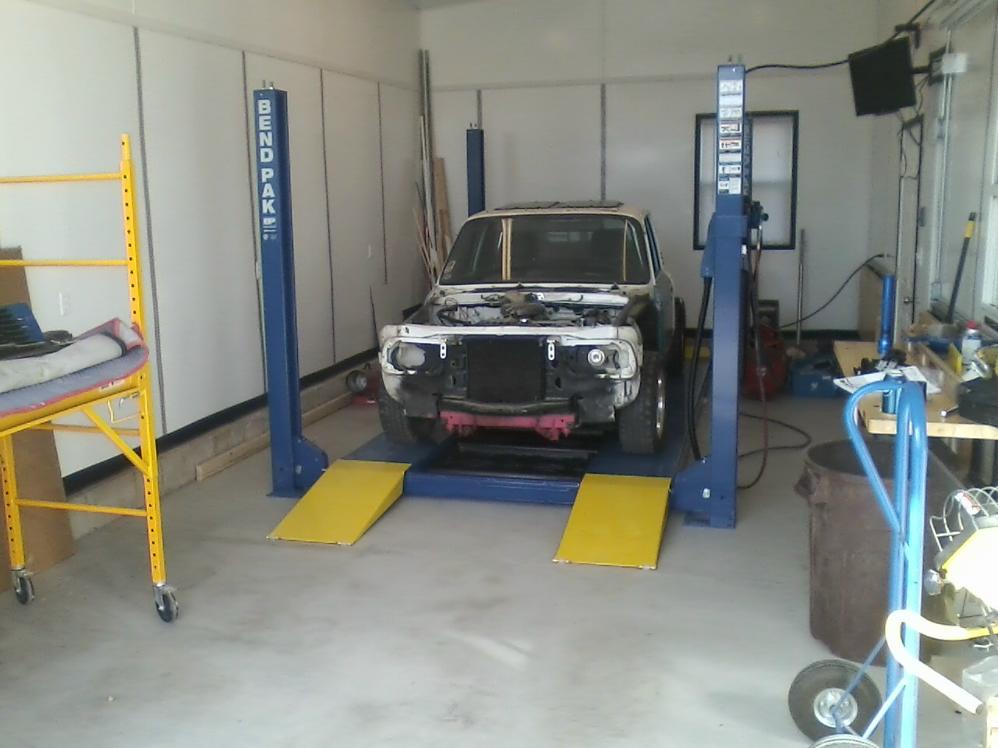
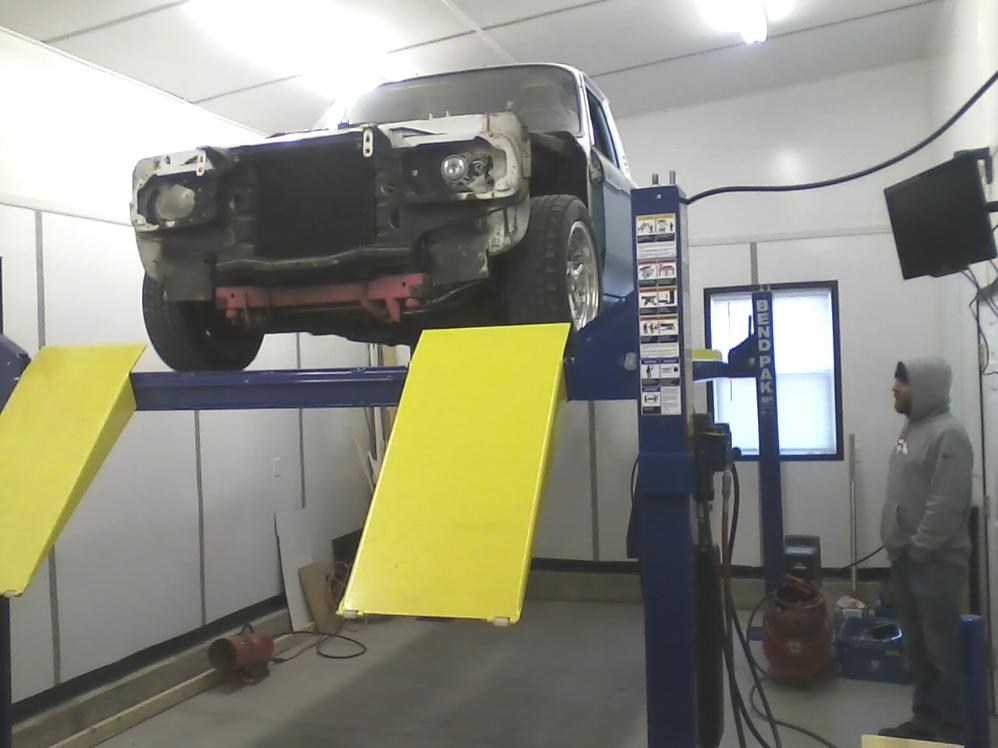
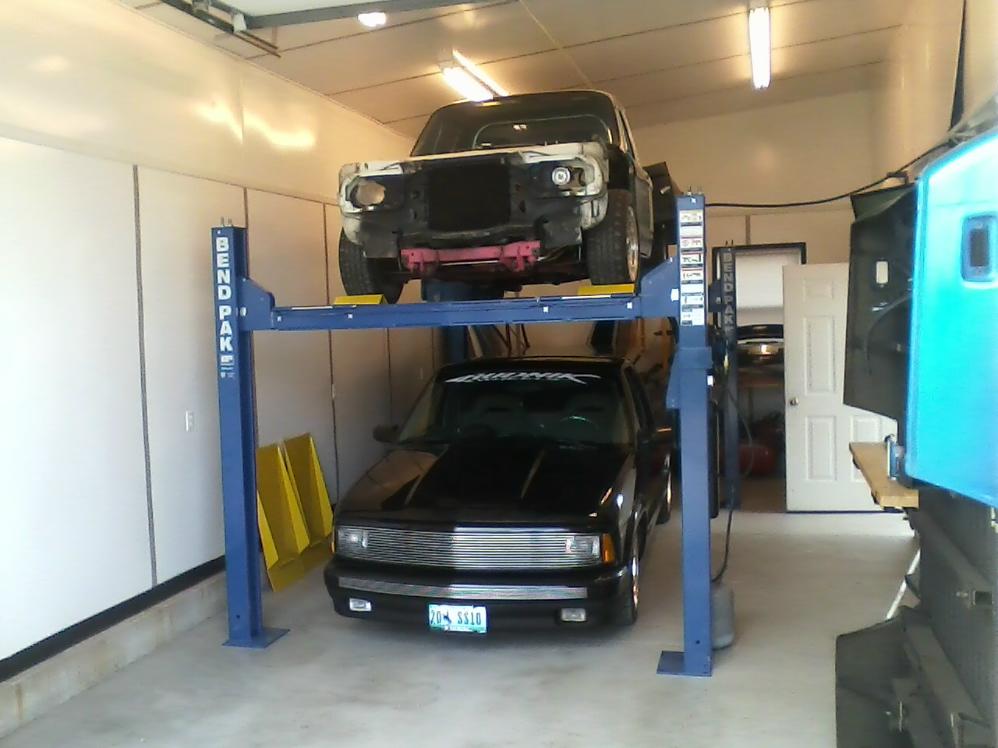
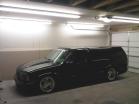
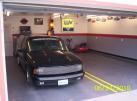 - 2010 - Got
the SS parked in its home
|
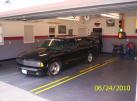 - 2010 - SS
#2
|
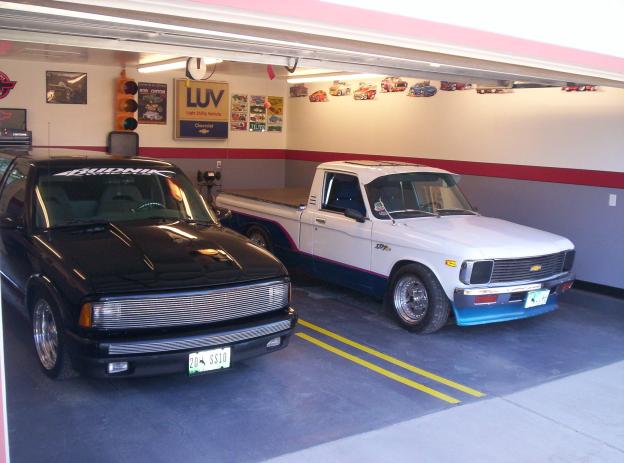
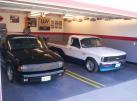 - 2010 -
Only took me 12 years to get my LUV back onto my
own property ( my dad had been storing it for me)
|
 - 2010 - Luv
#2
|
 - 2010 -
Next up for the garage, my late 60's pepsi
machine, after I refurbish it (now on hold)
|